|
DO MORE OF WHAT SETS YOUR SOUL ON FIRE
|

|
DO MORE OF WHAT SETS YOUR SOUL ON FIRE
|
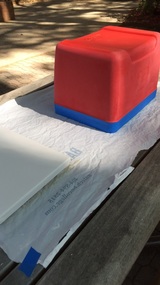
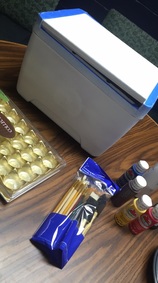
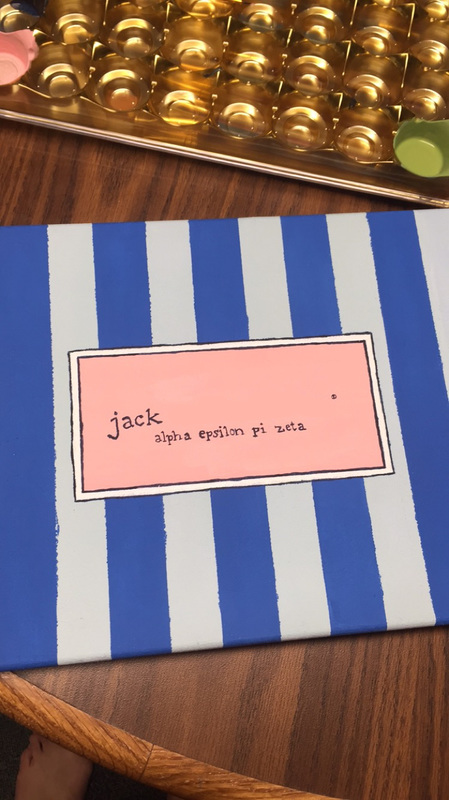
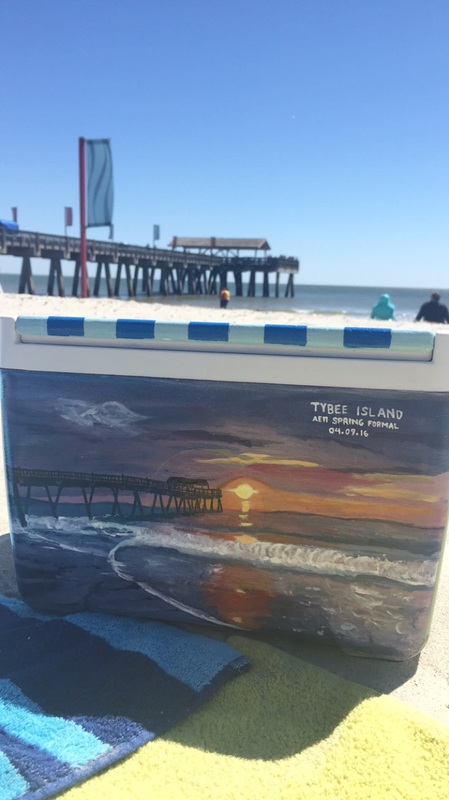
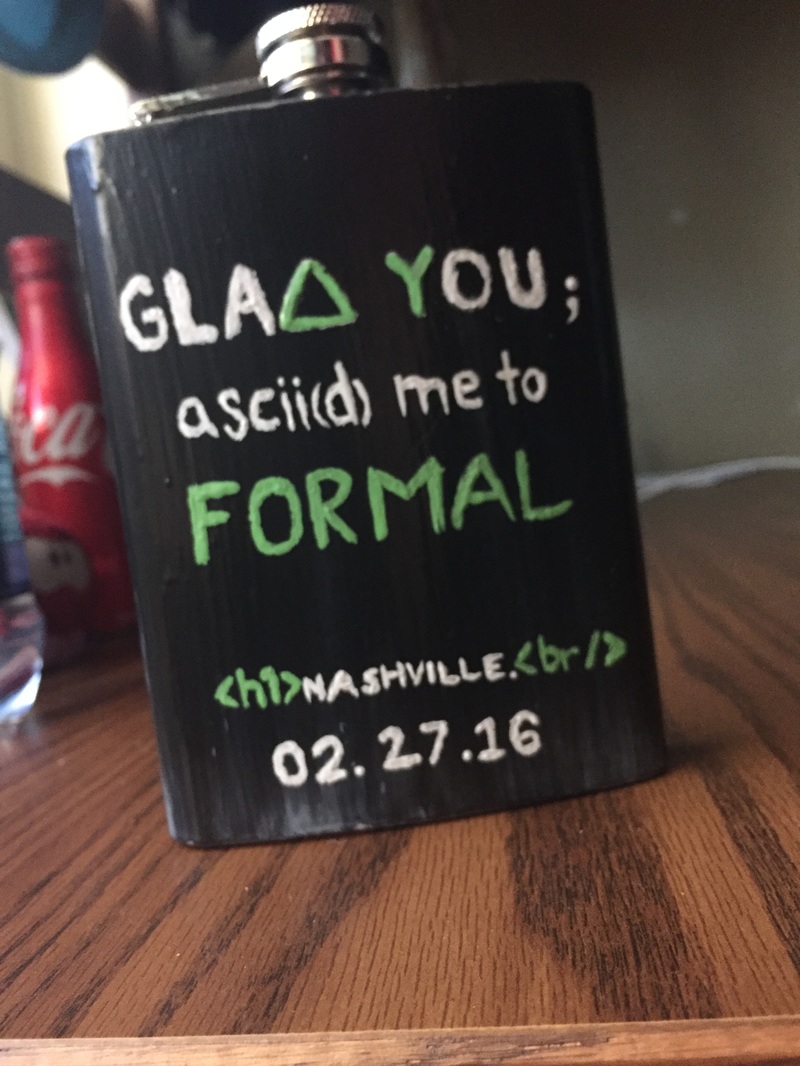
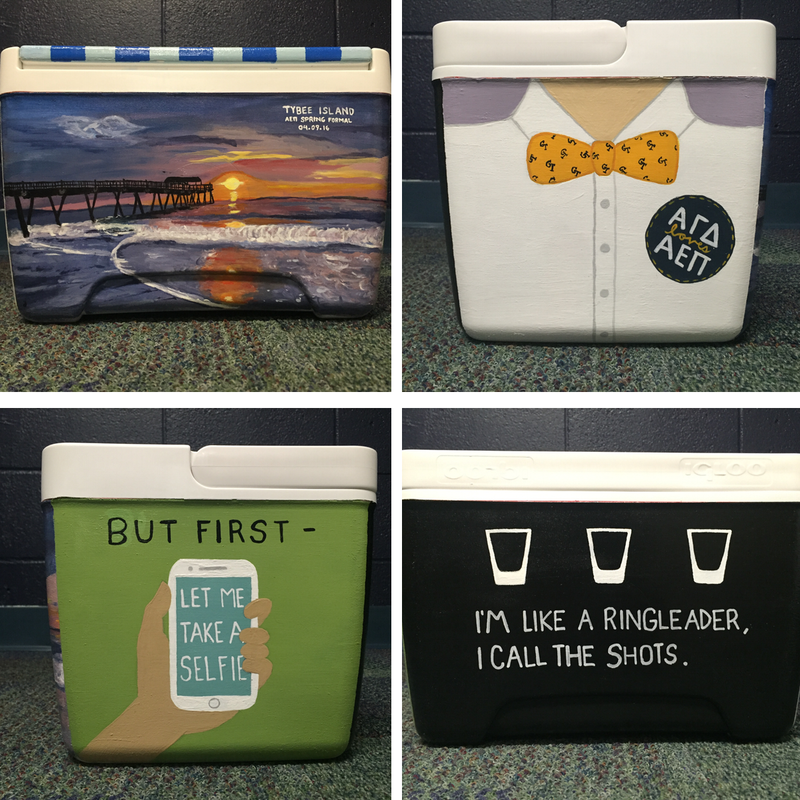 Almost two months ago, I was invited by one of my friends to his fraternity formal. I had been invited to another one a month prior but was asked pretty late so I didn't get the chance to paint a cooler (I painted him a flask instead which I've included at the bottom of this post). Anyway, this was my first time ever painting a cooler so I was kinda nervous, but with some help from the The Cooler Connection, I think it turned out pretty well! See how I did it below! Step 1: Pick and Prime A CoolerUnlike the larger coolers most girls paint, I decided on this 9qt by Igloo. I asked my date if he wouldn't mind a smaller one and he said that he was so excited to be getting one that it didn't really matter. And honestly, it holds a decent amount and is so easy to sand, prime, and paint that I think I'll be sticking to this size from now on. It's also a lot more practical and can be used again for day trips (some beaches also don't allow certain coolers so keep that in mind).
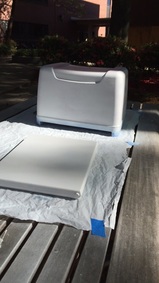
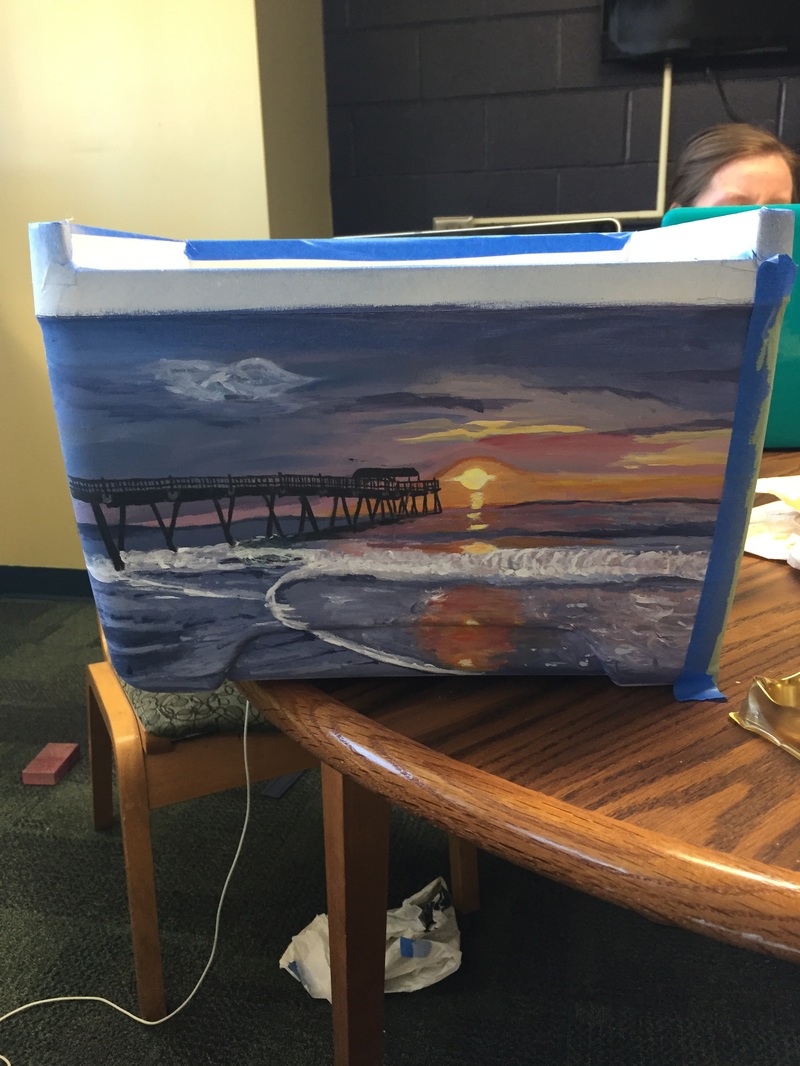
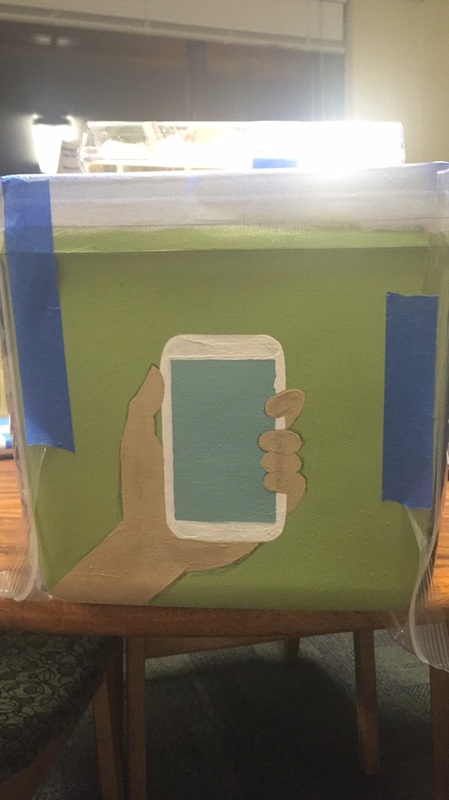
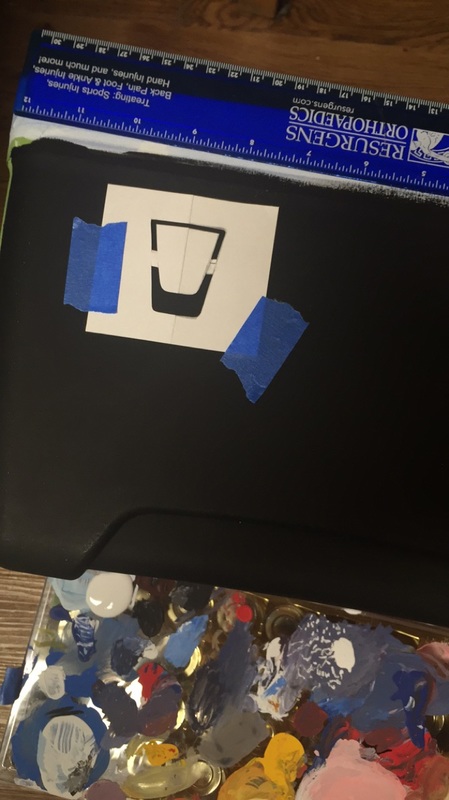
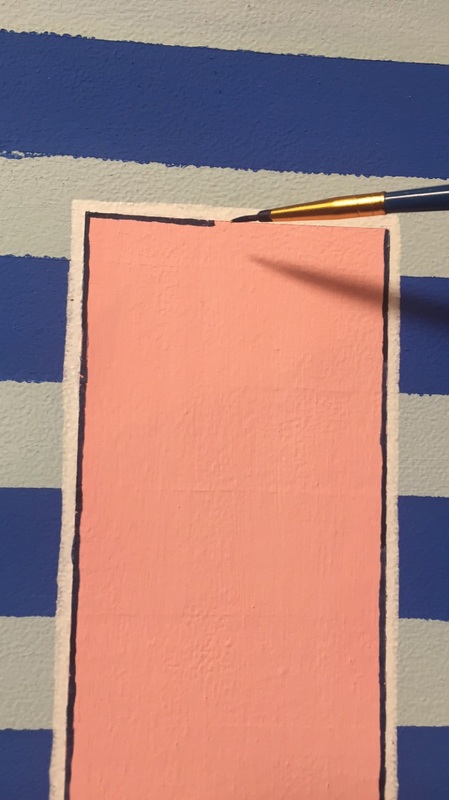
The first thing that I did was sand the cooler. No matter what your primer says (for plastic, extra strength, etc.), MAKE SURE TO SAND. Also, do yourself a favor and get enough sand paper- I barely had enough and I think my cooler could have used a little bit more sanding. Then, prime prime prime until the cooler is completely white. I used Krylon MAXX Ultimate Coverage Primer and one can was more than enough for this size of a cooler. Since this was my first time painting a cooler, I also didn't have any craft supplies yet. I had to get some basic acrylic colors: black, white, the three primary colors, brown (because it's a pain to mix and get right); brushes; and sealer. The total cost of this project? About $40. A little bit expensive but I will be reusing many of these items in the future so it's not too bad. Step 2: Paint (And Cry)Now, unto the fun part (but also the most stressful part). If you're a perfectionist like me, you're going to both love and hate painting a cooler. Before I started, I looked up some cooler inspiration on Facebook pages, Pinterest, and the Internet. I also asked my date for ideas (which I'm glad I did because I was pretty stuck on a fourth and final side idea).
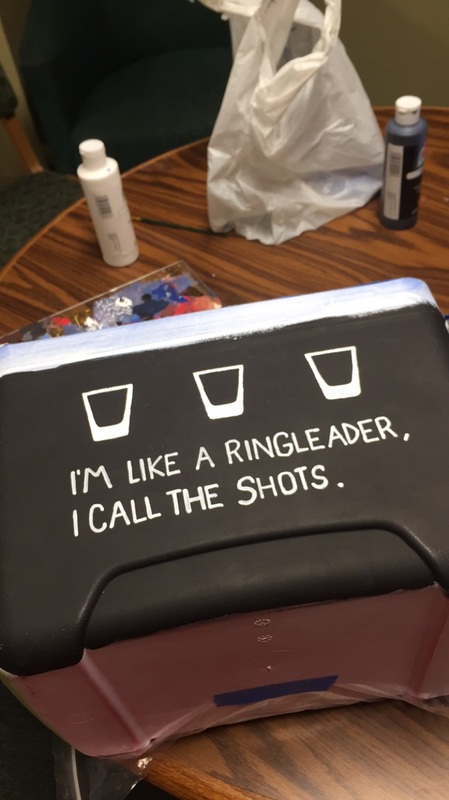
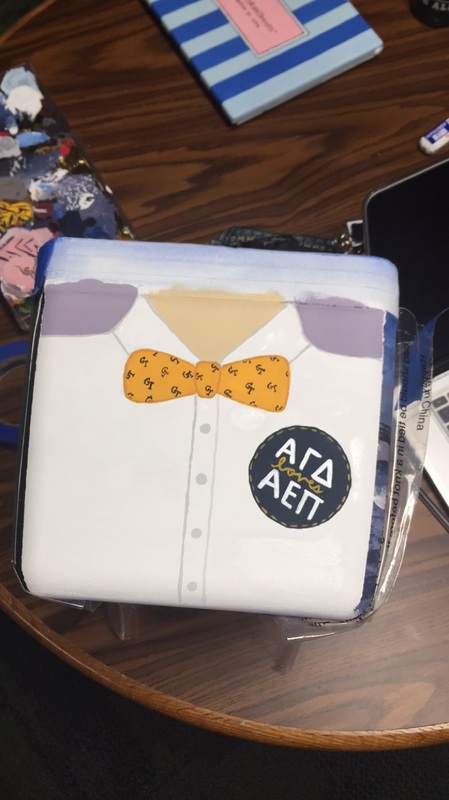
Step 3: Seal and Set Sail

4 Comments
Layla
3/17/2019 01:34:13 pm
OK this is super helpful but the weird thing was I was making this for my boyfriend in AEPi at gt😂!
Jianna
3/25/2019 01:38:12 pm
I'm so glad it was helpful 😊 And no way! If he's an older brother, I may know him. The Jack I went with is now a 5th year. Leave a Reply. |


Hello, there! You can call me Jianna. I'm a 24 year old creative blogging about entrepreneurship, travel, design (and everything else in between). Want to hang out sometime? Just buy the chai and I'll bring the memes.

My Relationship with Anxiety
February is the new January! STEP BY STEP GUIDE: Painting a Fraternity Cooler 
|